HowTo:Draw a perfect circle

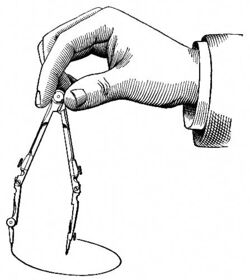
Drawing perfect circles is a past-time enjoyed by very few. Sadly, the general population as a whole has no ability to comprehend such an advanced geometric shape, let alone draw one. Rather, they must resort to using compasses or tracing circular objects. However, when critically analyzed, circle drawing is, in fact, rather simple, and can be broken down to either a one or nine step method.
One Step Method
Draw a circle.
Nine Step Method
Step One
Using a #4 9H Palomino graphitic writing instrument, gently place a lightly colored dot, a, on the center of a 5½" by 6¾" piece of preserved Egyptian papyrus.
Step Two
Choose a radius, r, for your circle. Using a straightedge composed of either Brazilian chestnut or teak, lightly draw a line segment with a measure of r, using a as one endpoint and newly created b as the other, at a 35.7° angle.
Step Three
Using the new and improved circumference formula, C=2πri 230(30.5)+1, calculate the exact circumference of your circle in terms of pi.
Step Four
Purchase a length of manila rope with a diameter 1.32". Slice it into two pieces each exactly equal to the calculated circumference with a Cold Steel Recon 1 tanto plain blade.
Step Five
Dip one piece of rope, R1, into a vat of A+++ quality India ink. Soak the second piece, R2, in distilled water.
Step Six
Gently place R1 on top of R2. This should properly dilute the ink.
Step Seven
Placing one end at b, lie R1 in a circular formation, keeping each atom exactly r away from a.
Step Eight
Touch R1 with a lit match, burning it off the page at a temperature between 387.04 and 387.05 kelvin. Gently blow away the ashes with a blowing speed of 0.234 knots, leaving only the India ink behind.
Step Nine
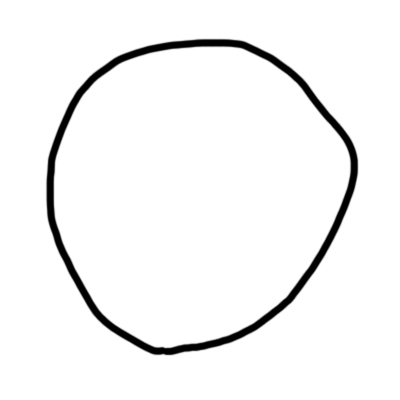
Feel free to apply Clifford's circle theorems as desired. The resulting drawing should look something like this:
