HowTo:Add sunlight through trees in Photoshop
Have you ever wanted to add obviously computer-generated rays of sunlight to your trees for that extra touch of fakeness? With Photoshop, it's remarkably easy. Not only can you create sun rays in a photograph, but you can even add them in real life. This is a great way to make your yard more impressive or attract people to your park or real estate.
In this tutorial, you'll learn about the technique for creating these rays and how to apply it to real trees.
Step 1: Pick a location
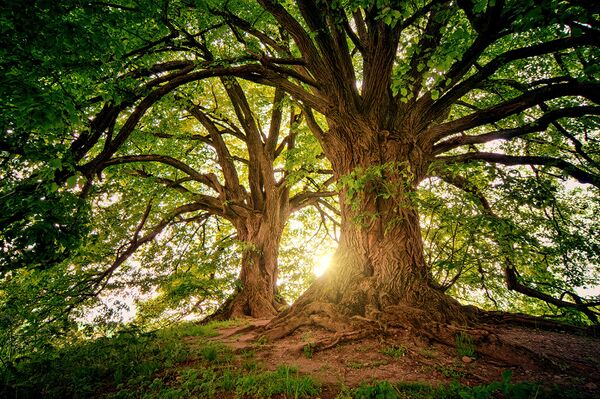
I used the woods behind the park in my neighborhood.
Step 2: Open it as an image
For this step, you must be using a smart device that is set up to detect and modify the environment. The Apple iAmTooSmart is a good choice.
Under the File menu, select "Open surroundings". This option does not exist in CS6 and earlier, so if that's what you have, you need to upgrade to the expensive rental version that you can never own. (It's totally worth it, trust me.) In your window you should see what looks like a photograph of the area that corresponds to what your device can see with its camera. The picture will refresh regularly, which on slower devices may be too resource-intensive. If you have a pair of iSpecs and they're connected to your device, you will see menus and some other parts of the Photoshop interface overlaid on the scene.
Once you have it open, go to Edit > Lighting and select "LED" instead of the default "Incandescent".
Step 3: Add the rays
From here you can follow the same steps you'd take to add rays of sunlight to a photograph. You can find instructions for this in other tutorials. There's a nice easy one out there with only 28 steps.
Before you begin, keep in mind that it is far more difficult to reverse your changes when working with reality. There is no undo function. You may notice that it is grayed out and can't be clicked. Once you've done something, it's done. Also, your actions have real-world consequences. I don't mean the kind where somebody looks at a picture and gets the wrong idea about something. I'm talking direct and immediate. Be careful.
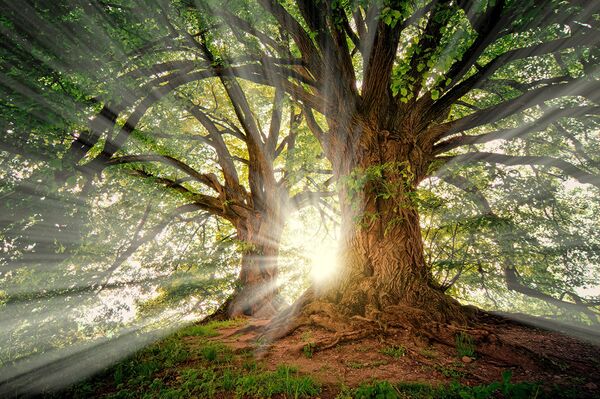
When you're done, it should look something like this:
Step 4: Fix any mistakes
Depending on what kind of mistake you've made, this may be easier said than done.
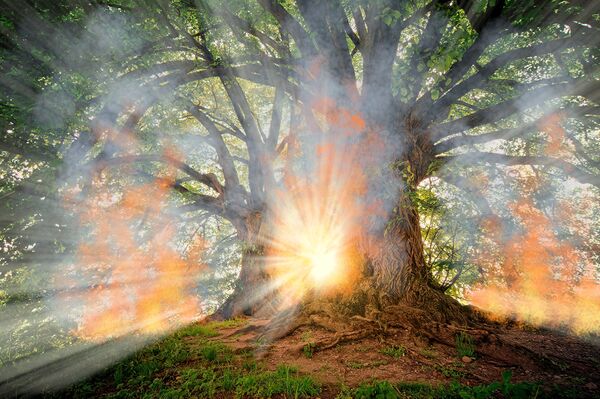
Shortly after I finished adding the rays, the woods looked like this:
To avoid this, use the "LED" setting mentioned above. Otherwise whatever the light is shining on tends to overheat. If you've already gotten to this point, though, there's nothing you can do. You're screwed. Adobe has said there may be a "remove forest fire" filter in the future, but this feature is not yet present in any version of Photoshop.
Step 5: Done
If you've set the trees on fire, you should call your local fire department and let them know. If you haven't, congrats — you've successfully spiced up your forest and made it look appealingly fake. You have made reality itself unrealistic. Enjoy.
| Featured version: 07 July 2019 | |
| This article has been featured on the main page. — You can vote for or nominate your favourite articles at Uncyclopedia:VFH. | |


